
Okta OIN configuration guide
How to set up Okta Single Sign-On integration
Contents
- Supported features
- Prerequisites
- Configuration procedure
- Troubleshooting
Supported features
- Single Sign-On (OpenID Connect, IdP-initiated only)
- Automatically creates user accounts in Salesbricks when Single Sign-On is initiated by a member of an organization with an active Okta integration
Prerequisites
- Install the Salesbricks application in your Okta admin dashboard
- Sign up for a seller account on Salesbricks (the Okta Single Sign-On integration is only available to Salesbricks users as a paid feature)
- Verify that the email addresses of your existing Salesbricks users match their Okta accounts exactly
Configuration procedure
After installing the application, you will need to obtain some information to send to Salesbricks.
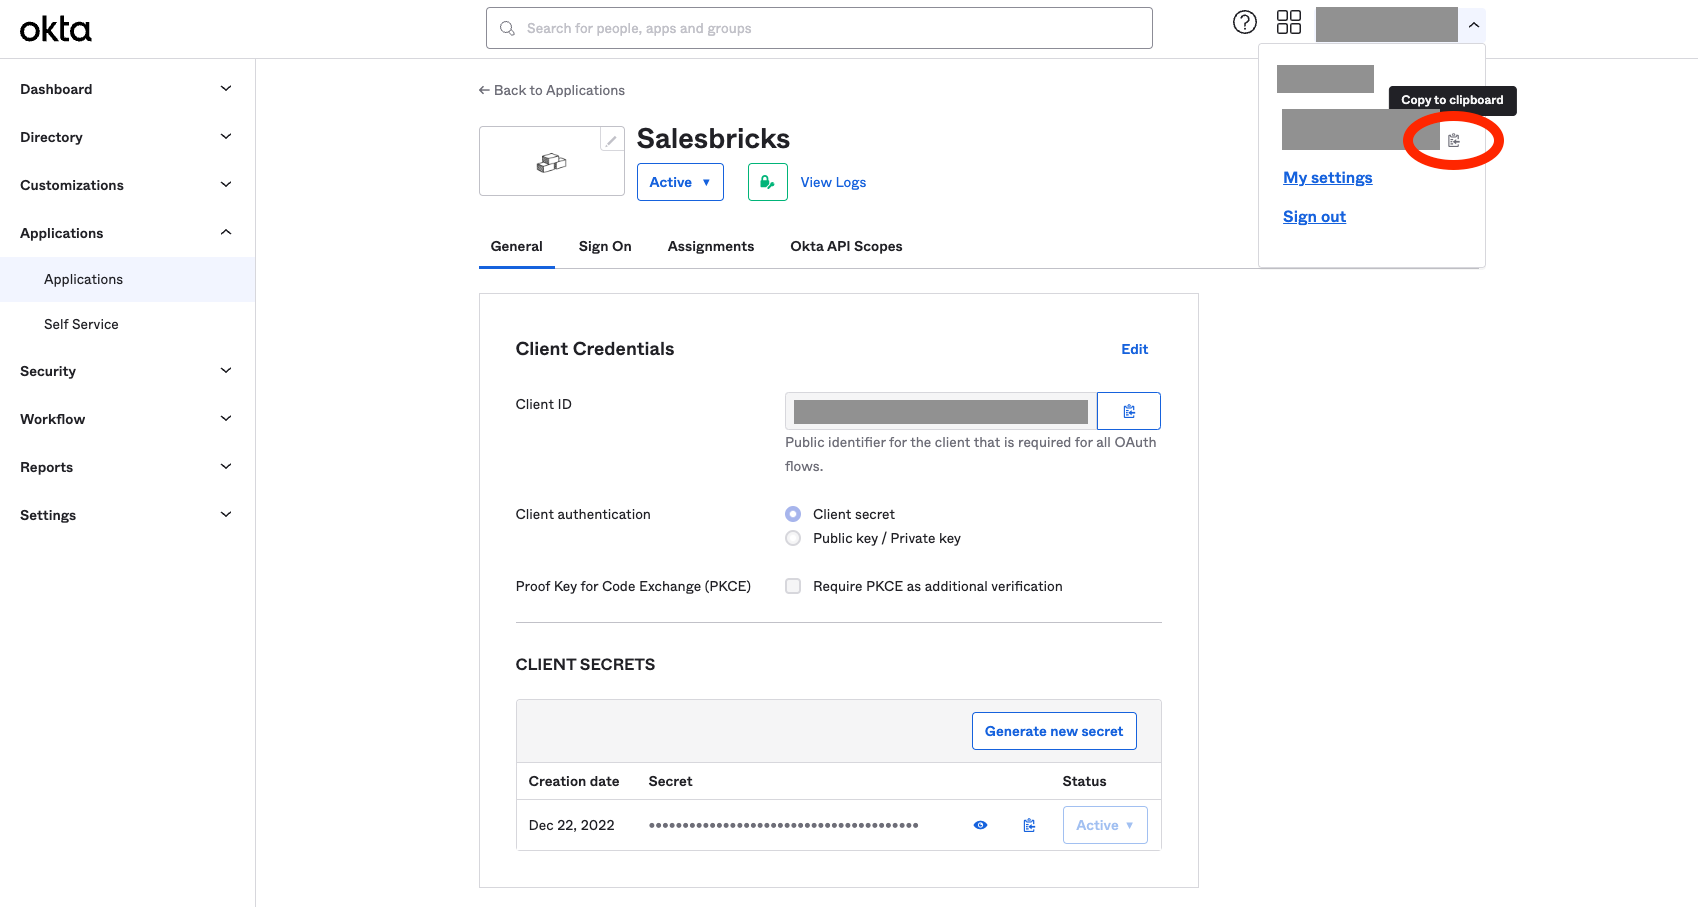
Gather information from Okta
- In the Okta admin page, go to Applications > Applications.
- Click on the Salesbricks application.
- Under the “General” tab, copy the values for Client ID and Client secret (click the eye button to toggle the visibility)

- Under the user dropdown menu in the top right corner of the page, copy your Okta organization’s issuer URL (e.g. salesbricks.okta.com; usually located under the admin’s email address).
Send the information to Salesbricks
Once you have all the required information (summarized below), email them to
[email protected].
- Client ID
- Client Secret
- Issuer URL
Salesbricks Integration Support will handle your request and follow up with you once the integration is configured.
Notes
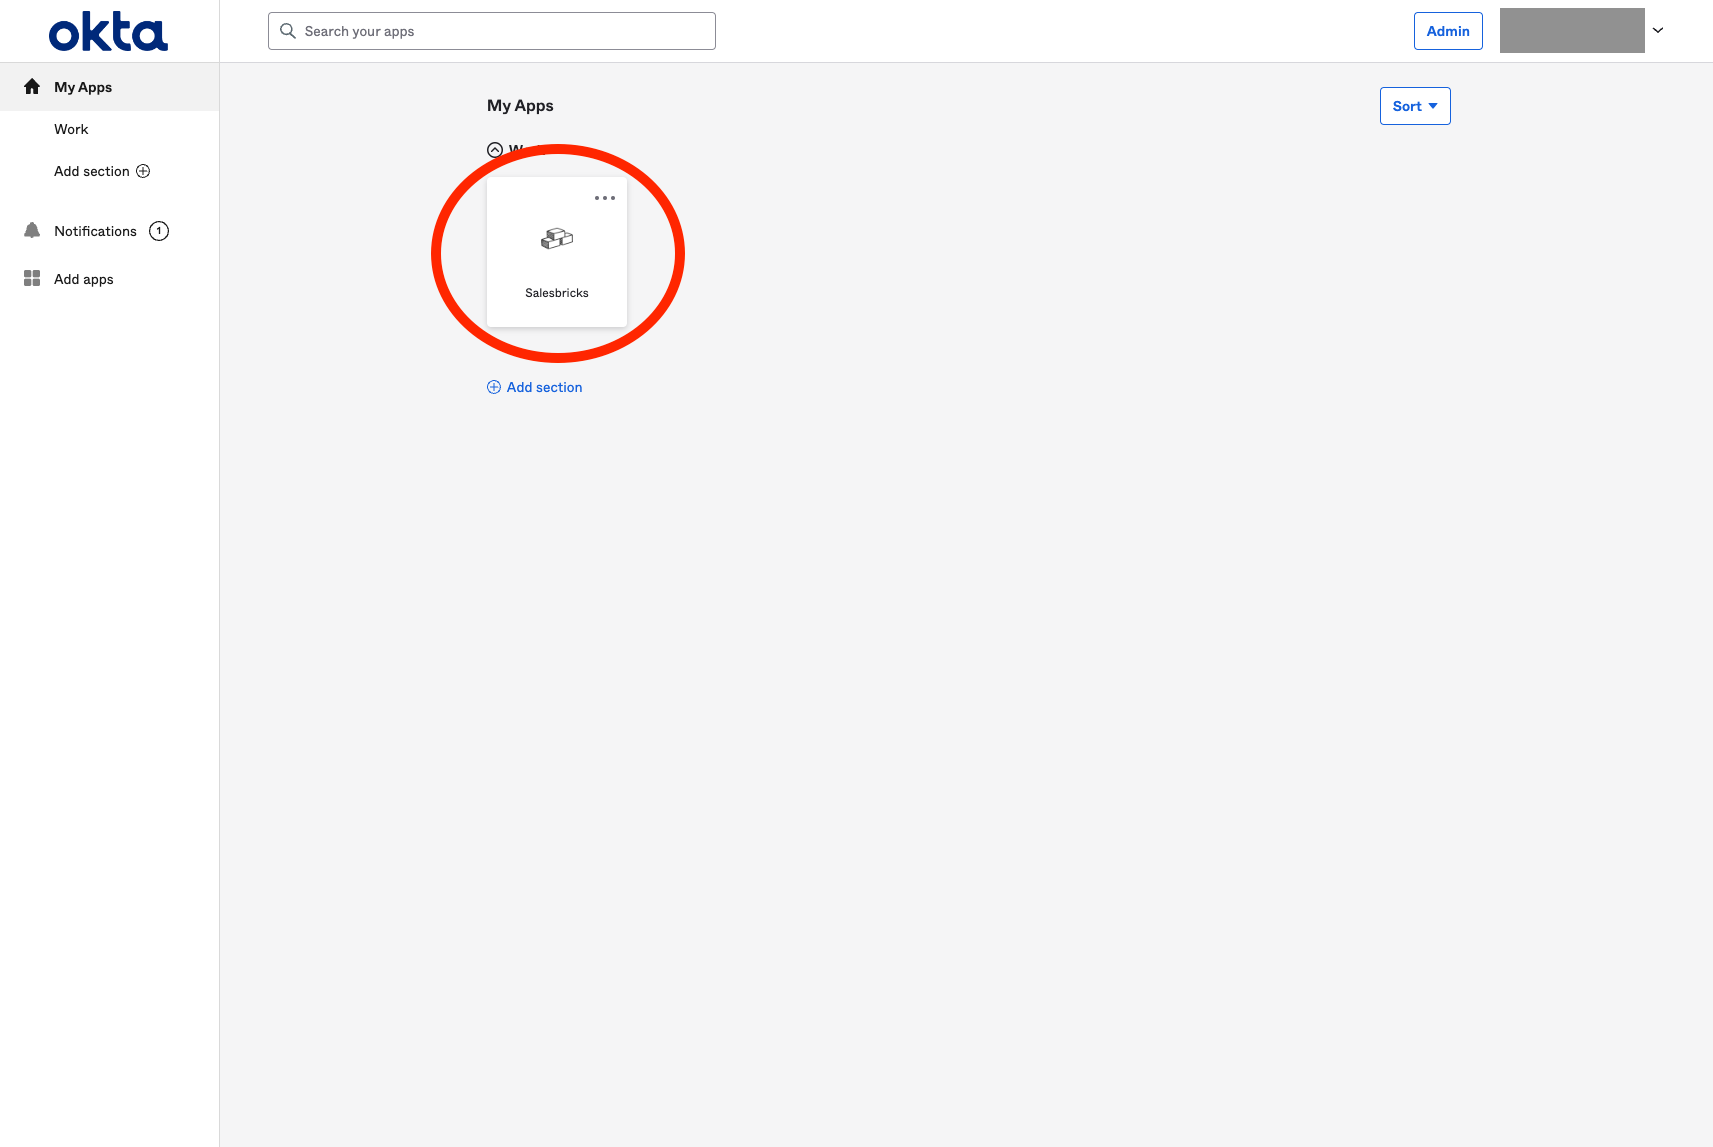
To log in to Salesbricks using Okta:
- Log in to your Okta account and access your end user dashboard
- Click on the Salesbricks app to begin authenticating your access to Salesbricks (if you don't have a pre-existing user account, one will automatically be created from your Okta details)
Troubleshooting
If you have any questions or issues with setting up your integration, please contact [email protected].
Updated 4 months ago